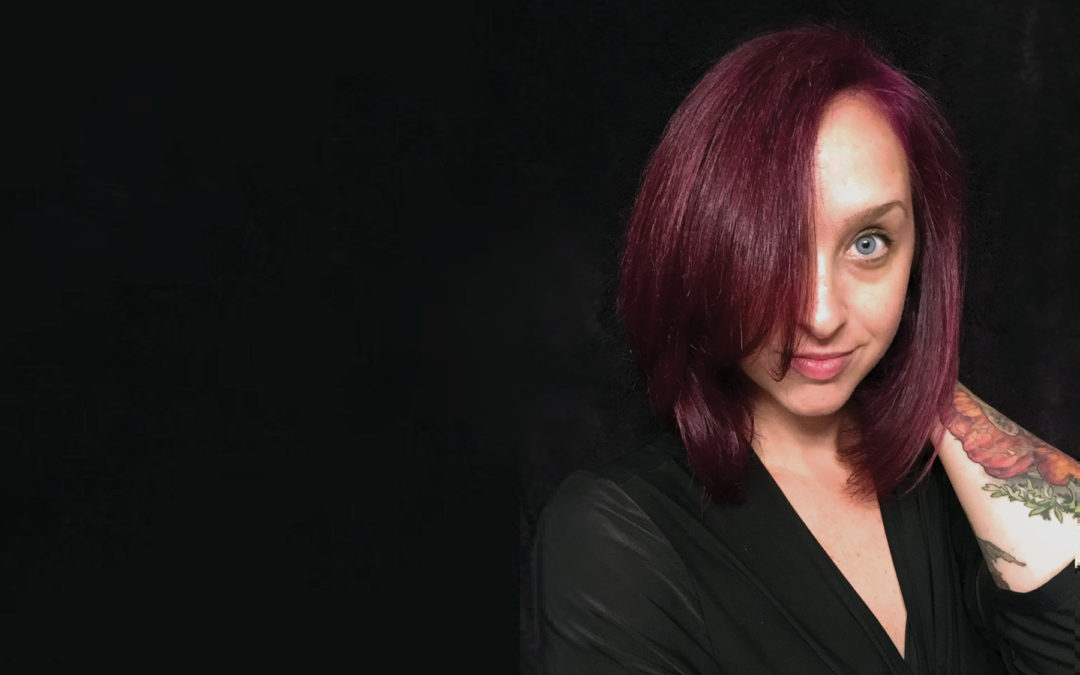
For whatever reason, I love to stand out. I don’t necessarily like attention, but I like to live boldly. Which is possibly why I started dying my hair bright hues of reds and purples a few years ago. Not long after I did, #mermaidhair became a serious trend.
But I’m cheap, and also pretty lazy.
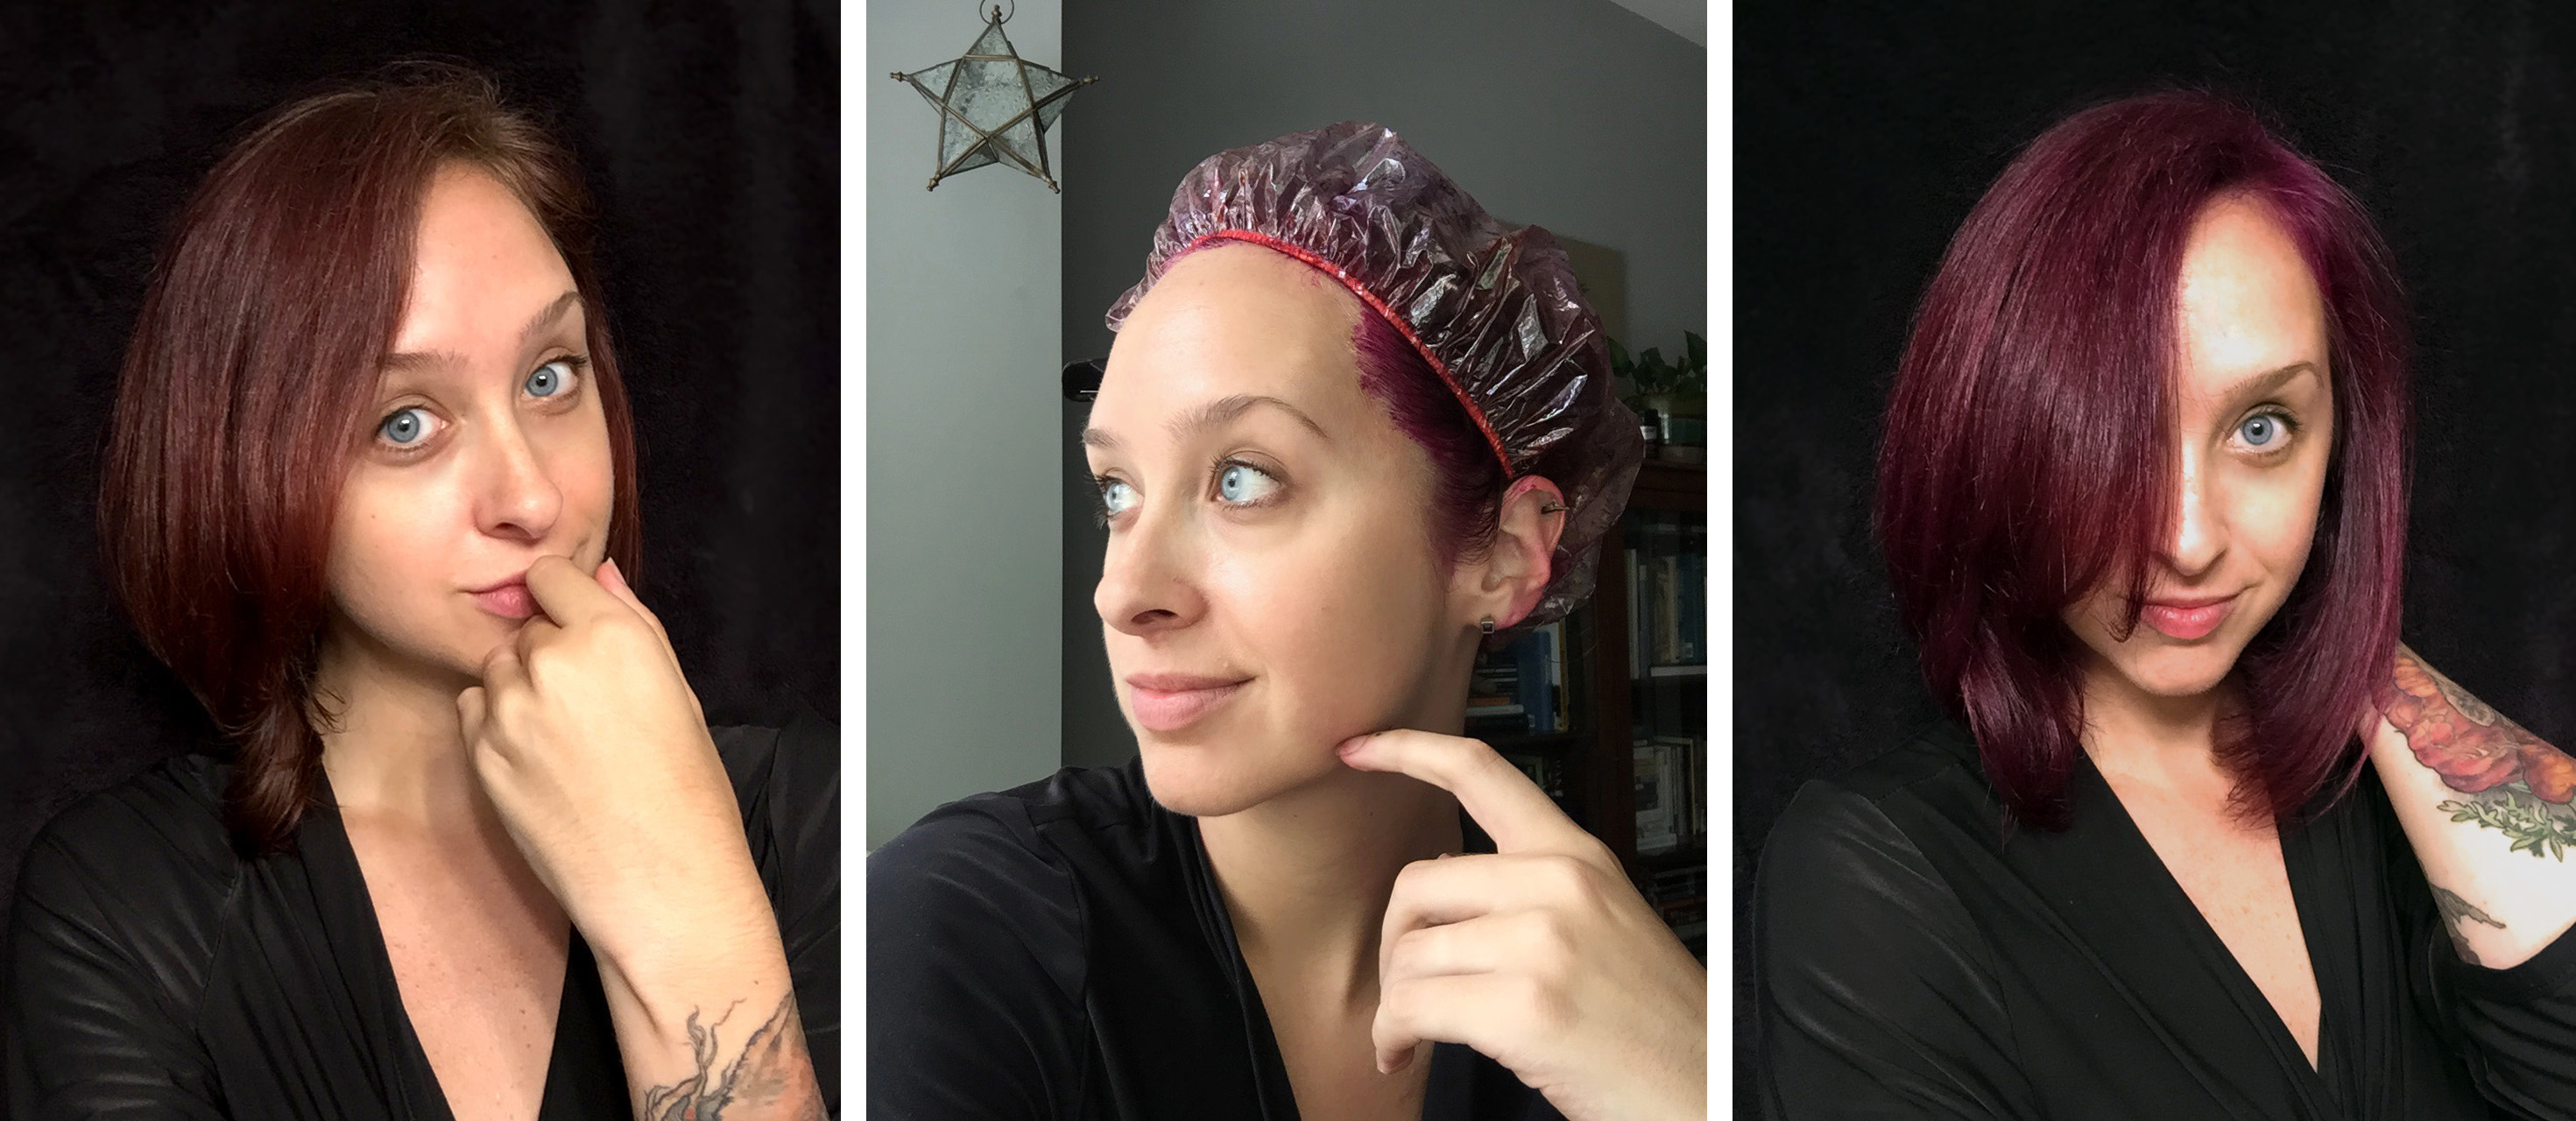
It didn’t take long for me to realize that the salon treatment wasn’t worth the expense or the time, and I could easily dye my own hair at home with the same (actually, better) results. The DIY color I use lasts longer and produces bolder colors compared to the salon red (see the comparison below).

Salon-dyed Red Hair

DIY Red Hair, Bolder and Lasts Longer
I’ve taken full advantage of the ease of at-home dye and explored a range of colors and treatments (ombre, anyone?).


While my hair might not be the brightest rainbow shades of mermaid hair, that’s because I’m, well, lazy and cheap. I didn’t want to bleach my hair to achieve color. Instead, all of this color is the result of dying over my natural, light brown hair color.
So, for anyone out there hoping to achieve something similar, here’s my process.
Supplies
I make sure that my entire process is vegan-friendly—from my color to the supplies I use. Below is a list of the supplies, tools, and brands I use for dying my hair.
- Color: I use brands like Manic Panic or Arctic Fox (15% of Arctic Fox sales are donated to prevent animal abuse).
- Color Stay: In between dyes, I can get my color to last even longer using a color-depositing conditioner from Overtone Color.
- Gloves: Latex is often not vegan, so be sure to look for a latex-free, vegan-friendly rubber glove alternative.
- Grease: To keep color from absorbing into your skin in unwanted places, you can apply a think layer of grease. Instead of petroleum jelly (which isn’t vegan), I actually use Hustle Butter Deluxe
, which works pretty well. There are other products out there, of course, so feel free to look around.
- Applicator: You can use your hands, if you like, but I prefer to use a brush with a narrow handle for parting my hair.
- Clips: Use clips to segment and hold back your hair.
- Surface Protection: If you’re a mess like me, you’ll want to cover any surface that you don’t want ruined.
- Cleaning Supplies: Again, if you don’t want anything ruined, it’s good to have some cleaning supplies on hand for emergencies!
Preparation
Preparing Myself
What to Wear: First, I get myself ready. I typically wear a loose tank top or black robe which I can remove without touching my hair. But if you don’t mind potentially staining a shirt, wear whatever you want. The good news is that these dyes usually come right out and don’t stain. But that’s if you address any spills and splatters quickly.
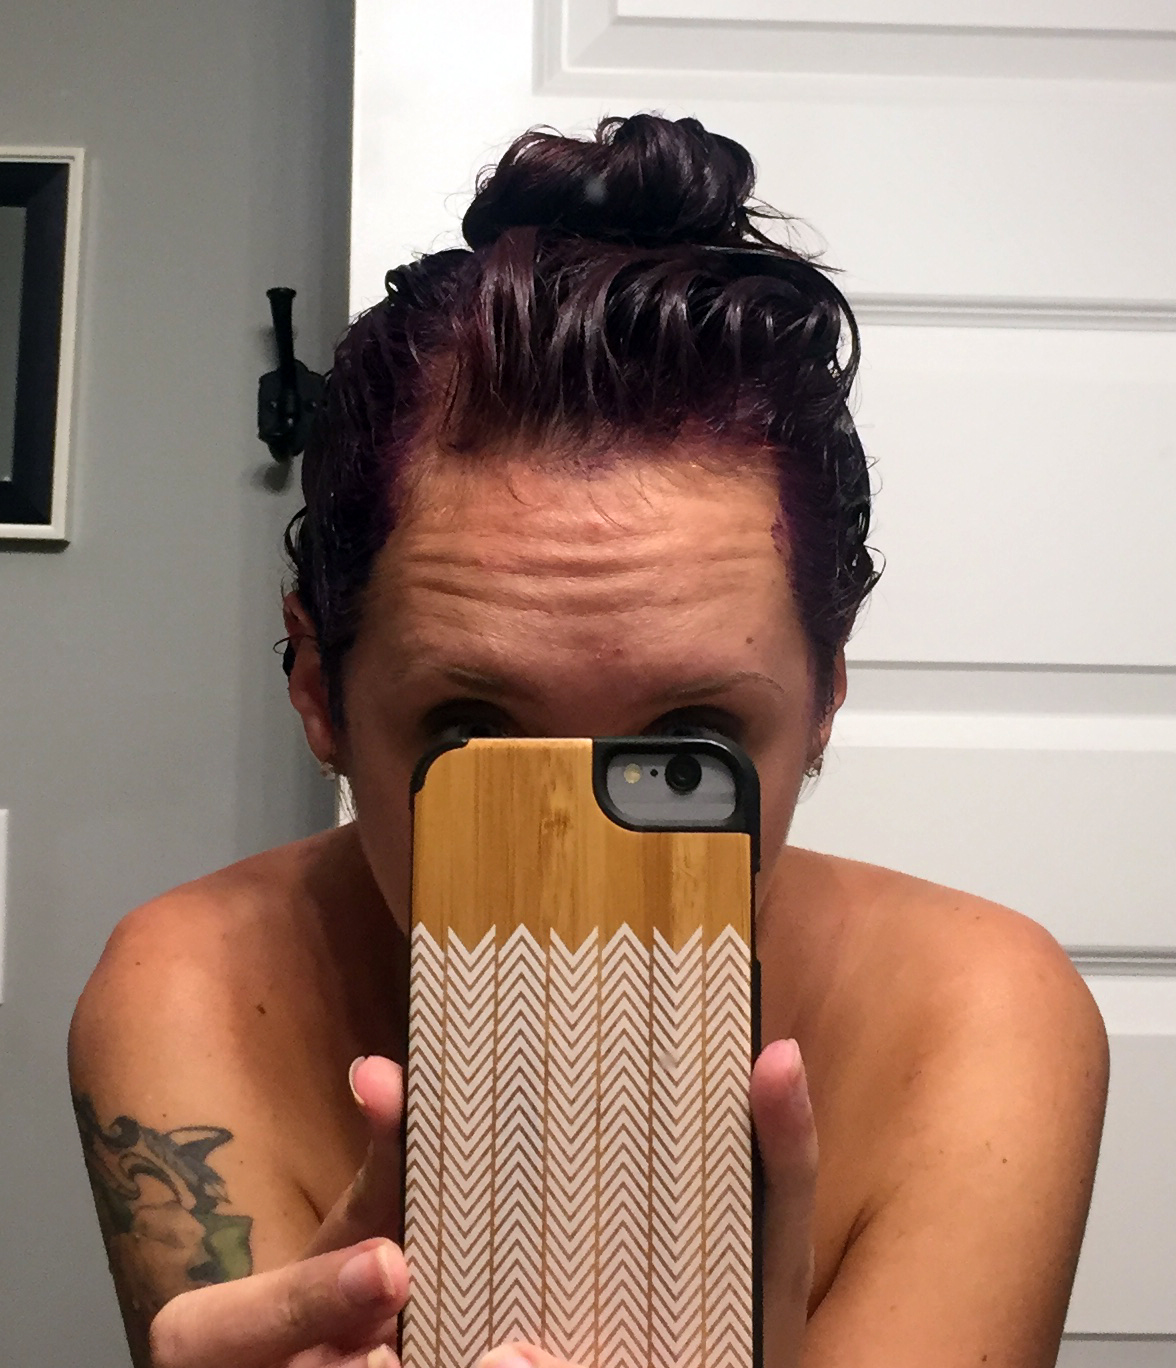
Protecting Skin: To prevent the dye from staining my skin, I rub a very thin layer of grease around my hairline, on my ears, behind my ears, and around my neck. You can add grease anywhere you think you might splatter (my forearms sometimes brush up against my hair as I’m working the color in, so it’s not a bad idea to cover your skin if you’re not wearing sleeves). If you do get dye on your skin, it will come off pretty easily if removed quickly, but might still be visible for a day or two. It sounds unbelievable, but rubbing a bit of dye on your skin where you splattered can actually help remove it (color removes color). Still, use this tip cautiously!
Preparing My Space
Once I’m all set to keep myself and my clothes clean, I then prepare my “workspace” by covering surfaces and bringing out all my supplies.
Protecting Surfaces: I’m a total mess. So I use a cheap plastic table cloth (or cling wrap) to cover my counter and vanity, and an old fitted sheet to cover the door that I need to stand beside in order to see myself in the mirror. I’ll also sometimes stand on an old towel to catch any drops.
Emergency Clean-Up: I keep a roll of paper towels next to me, sometimes with a sheet or two already detached, along with some surface cleaner. On more than one occasion, I’ve splattered somewhere uncovered and had to quickly clean it up—with my gloves on and only half of my head colored.
Will it stain? Depending on the surface, you may or may not see staining. I’ve gotten small spots on my white wooden cabinets, granite counter, and marble tiles that does not come out! For ceramic tiles, fiberglass tubs, and a lot of fabrics (but surely not all fabrics), if you’re using semi-permanent plant-based dyes like the brands I’ve recommended above, staining might not be permanent. Again, this will depend on the specific characteristics of the materials you have!
Process
It may take you a while to find a process that works for you. It took a few times of dying my hair before I got a system down. This is a process I find effective.
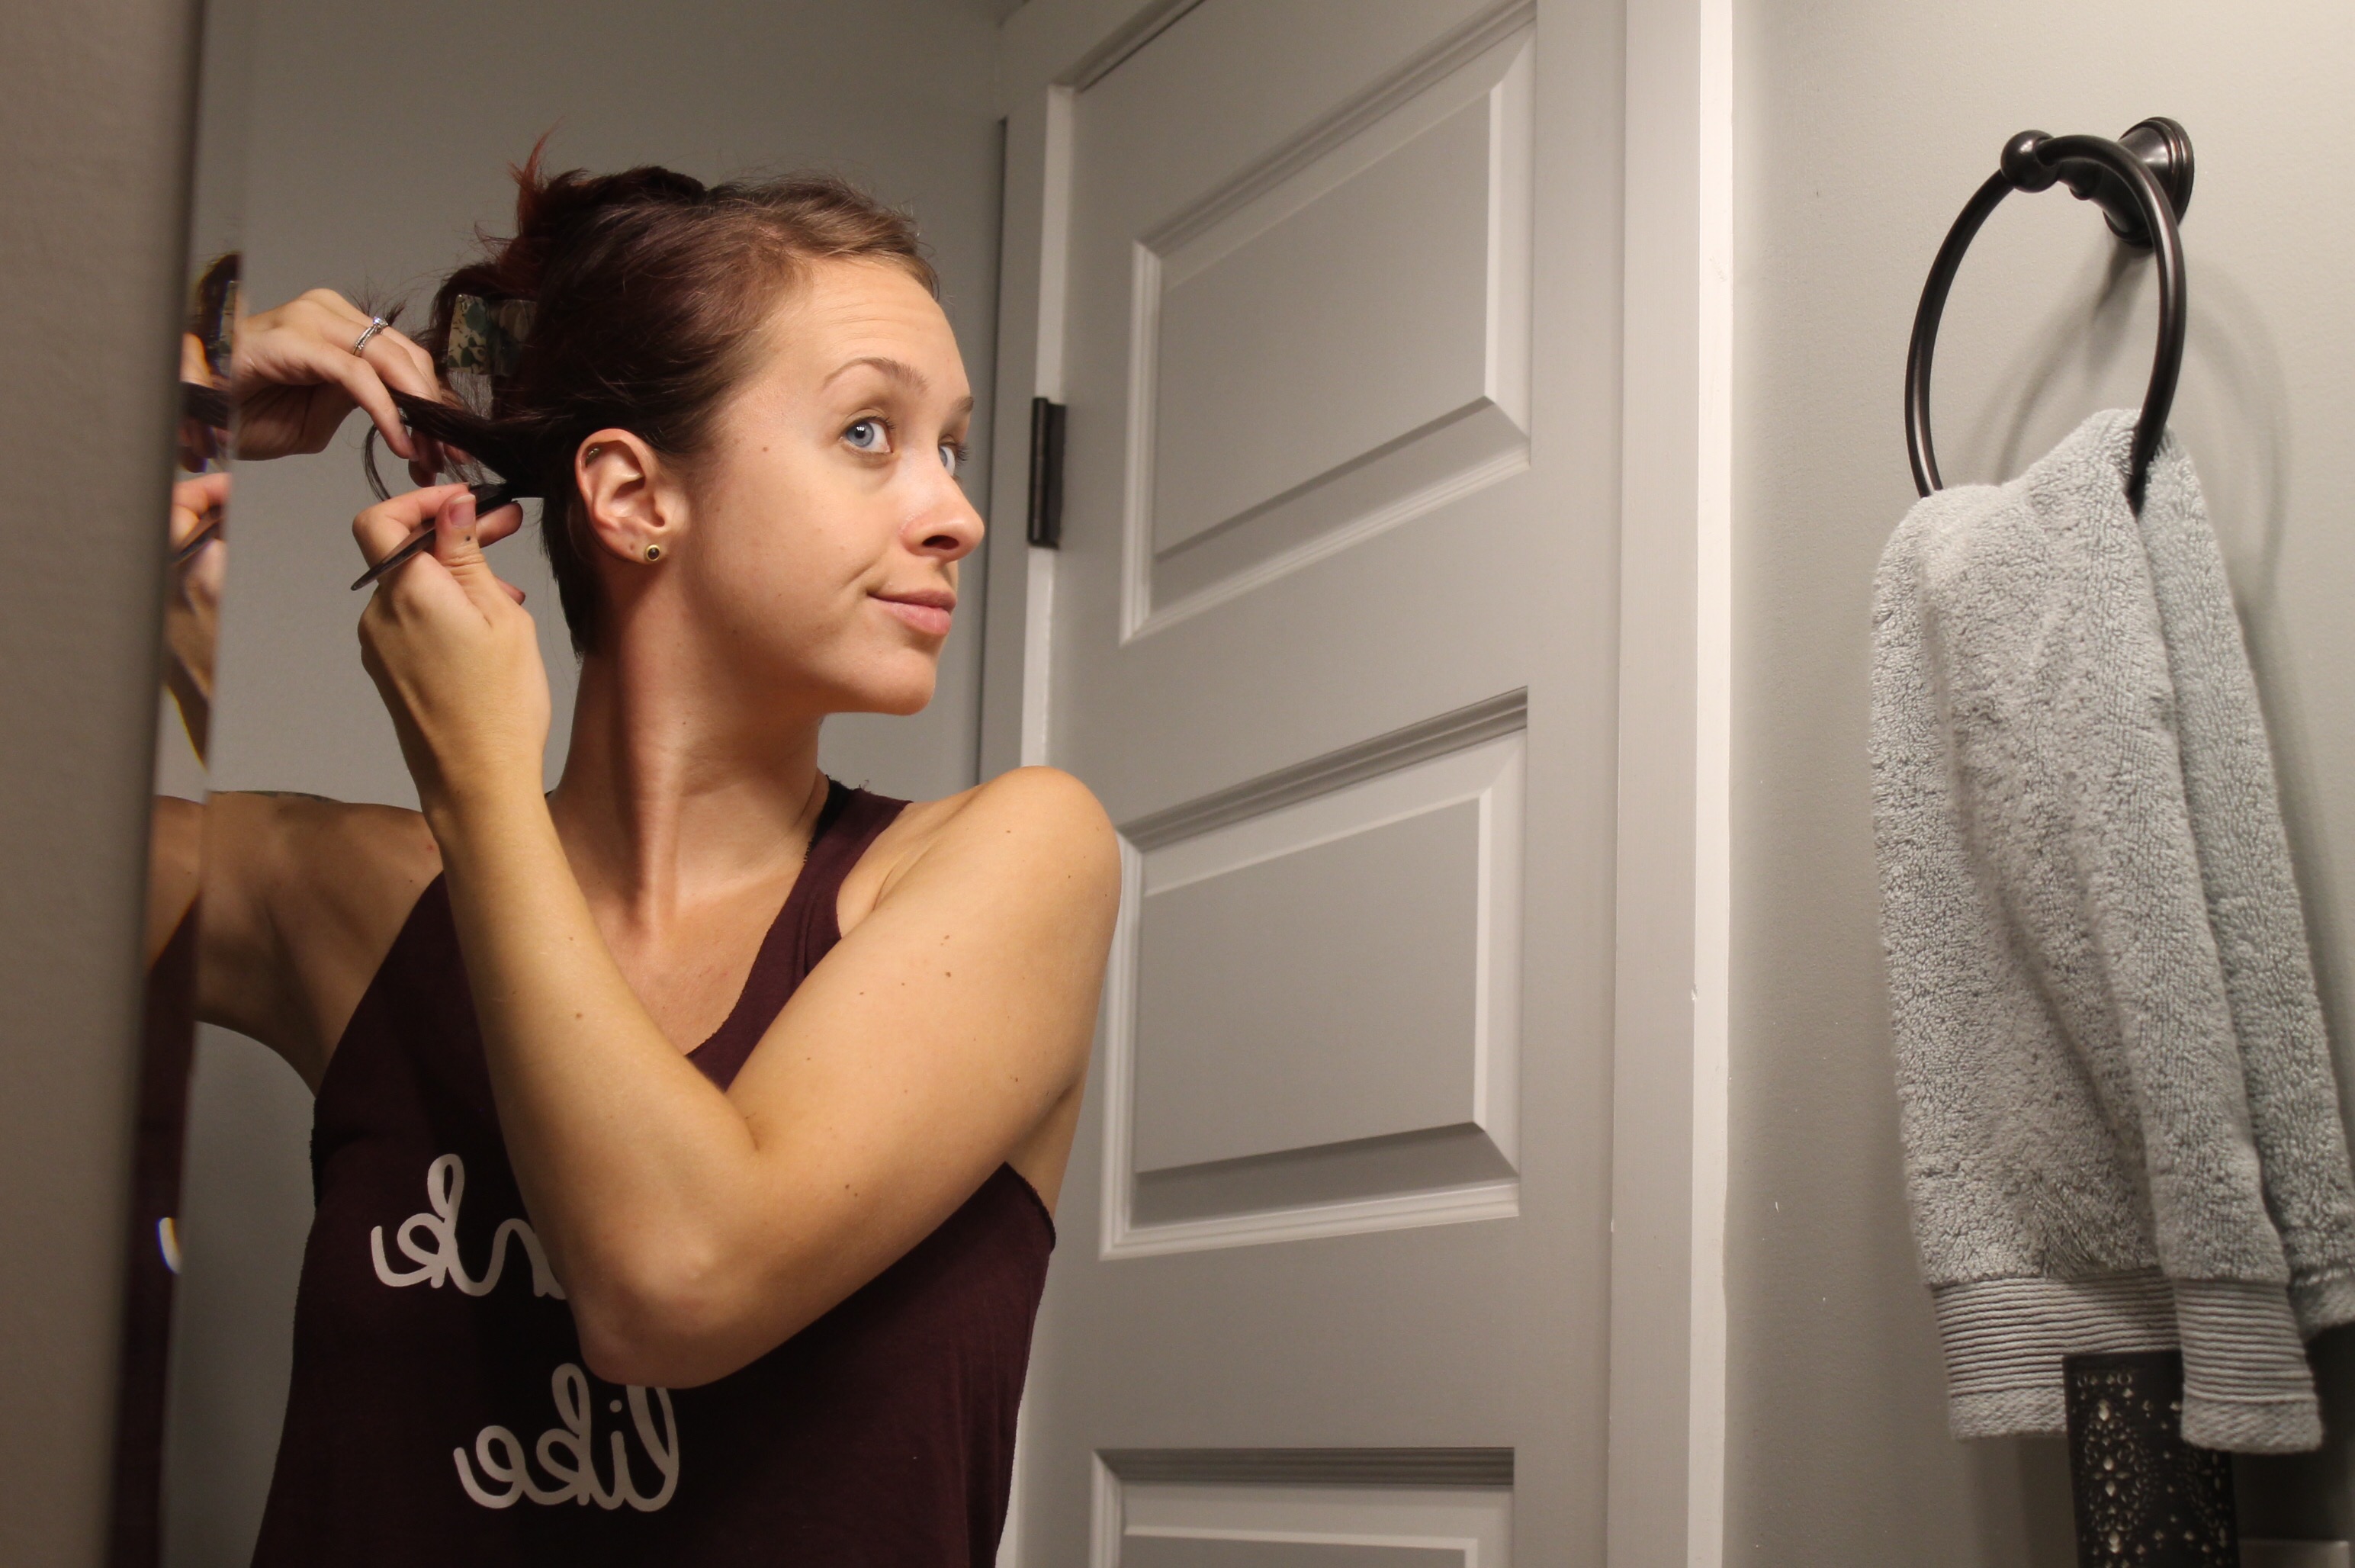
- Begin. Once you and your space are all set up (see the prep tips above), start by covering the roots that frame your face and line the edge of your neckline. Take extra care to not dye your skin in these places (inevitably, I will have some color that ends up at my hair line and scalp). At this point, you’re just focusing on the roots, and will get the entire strands later.
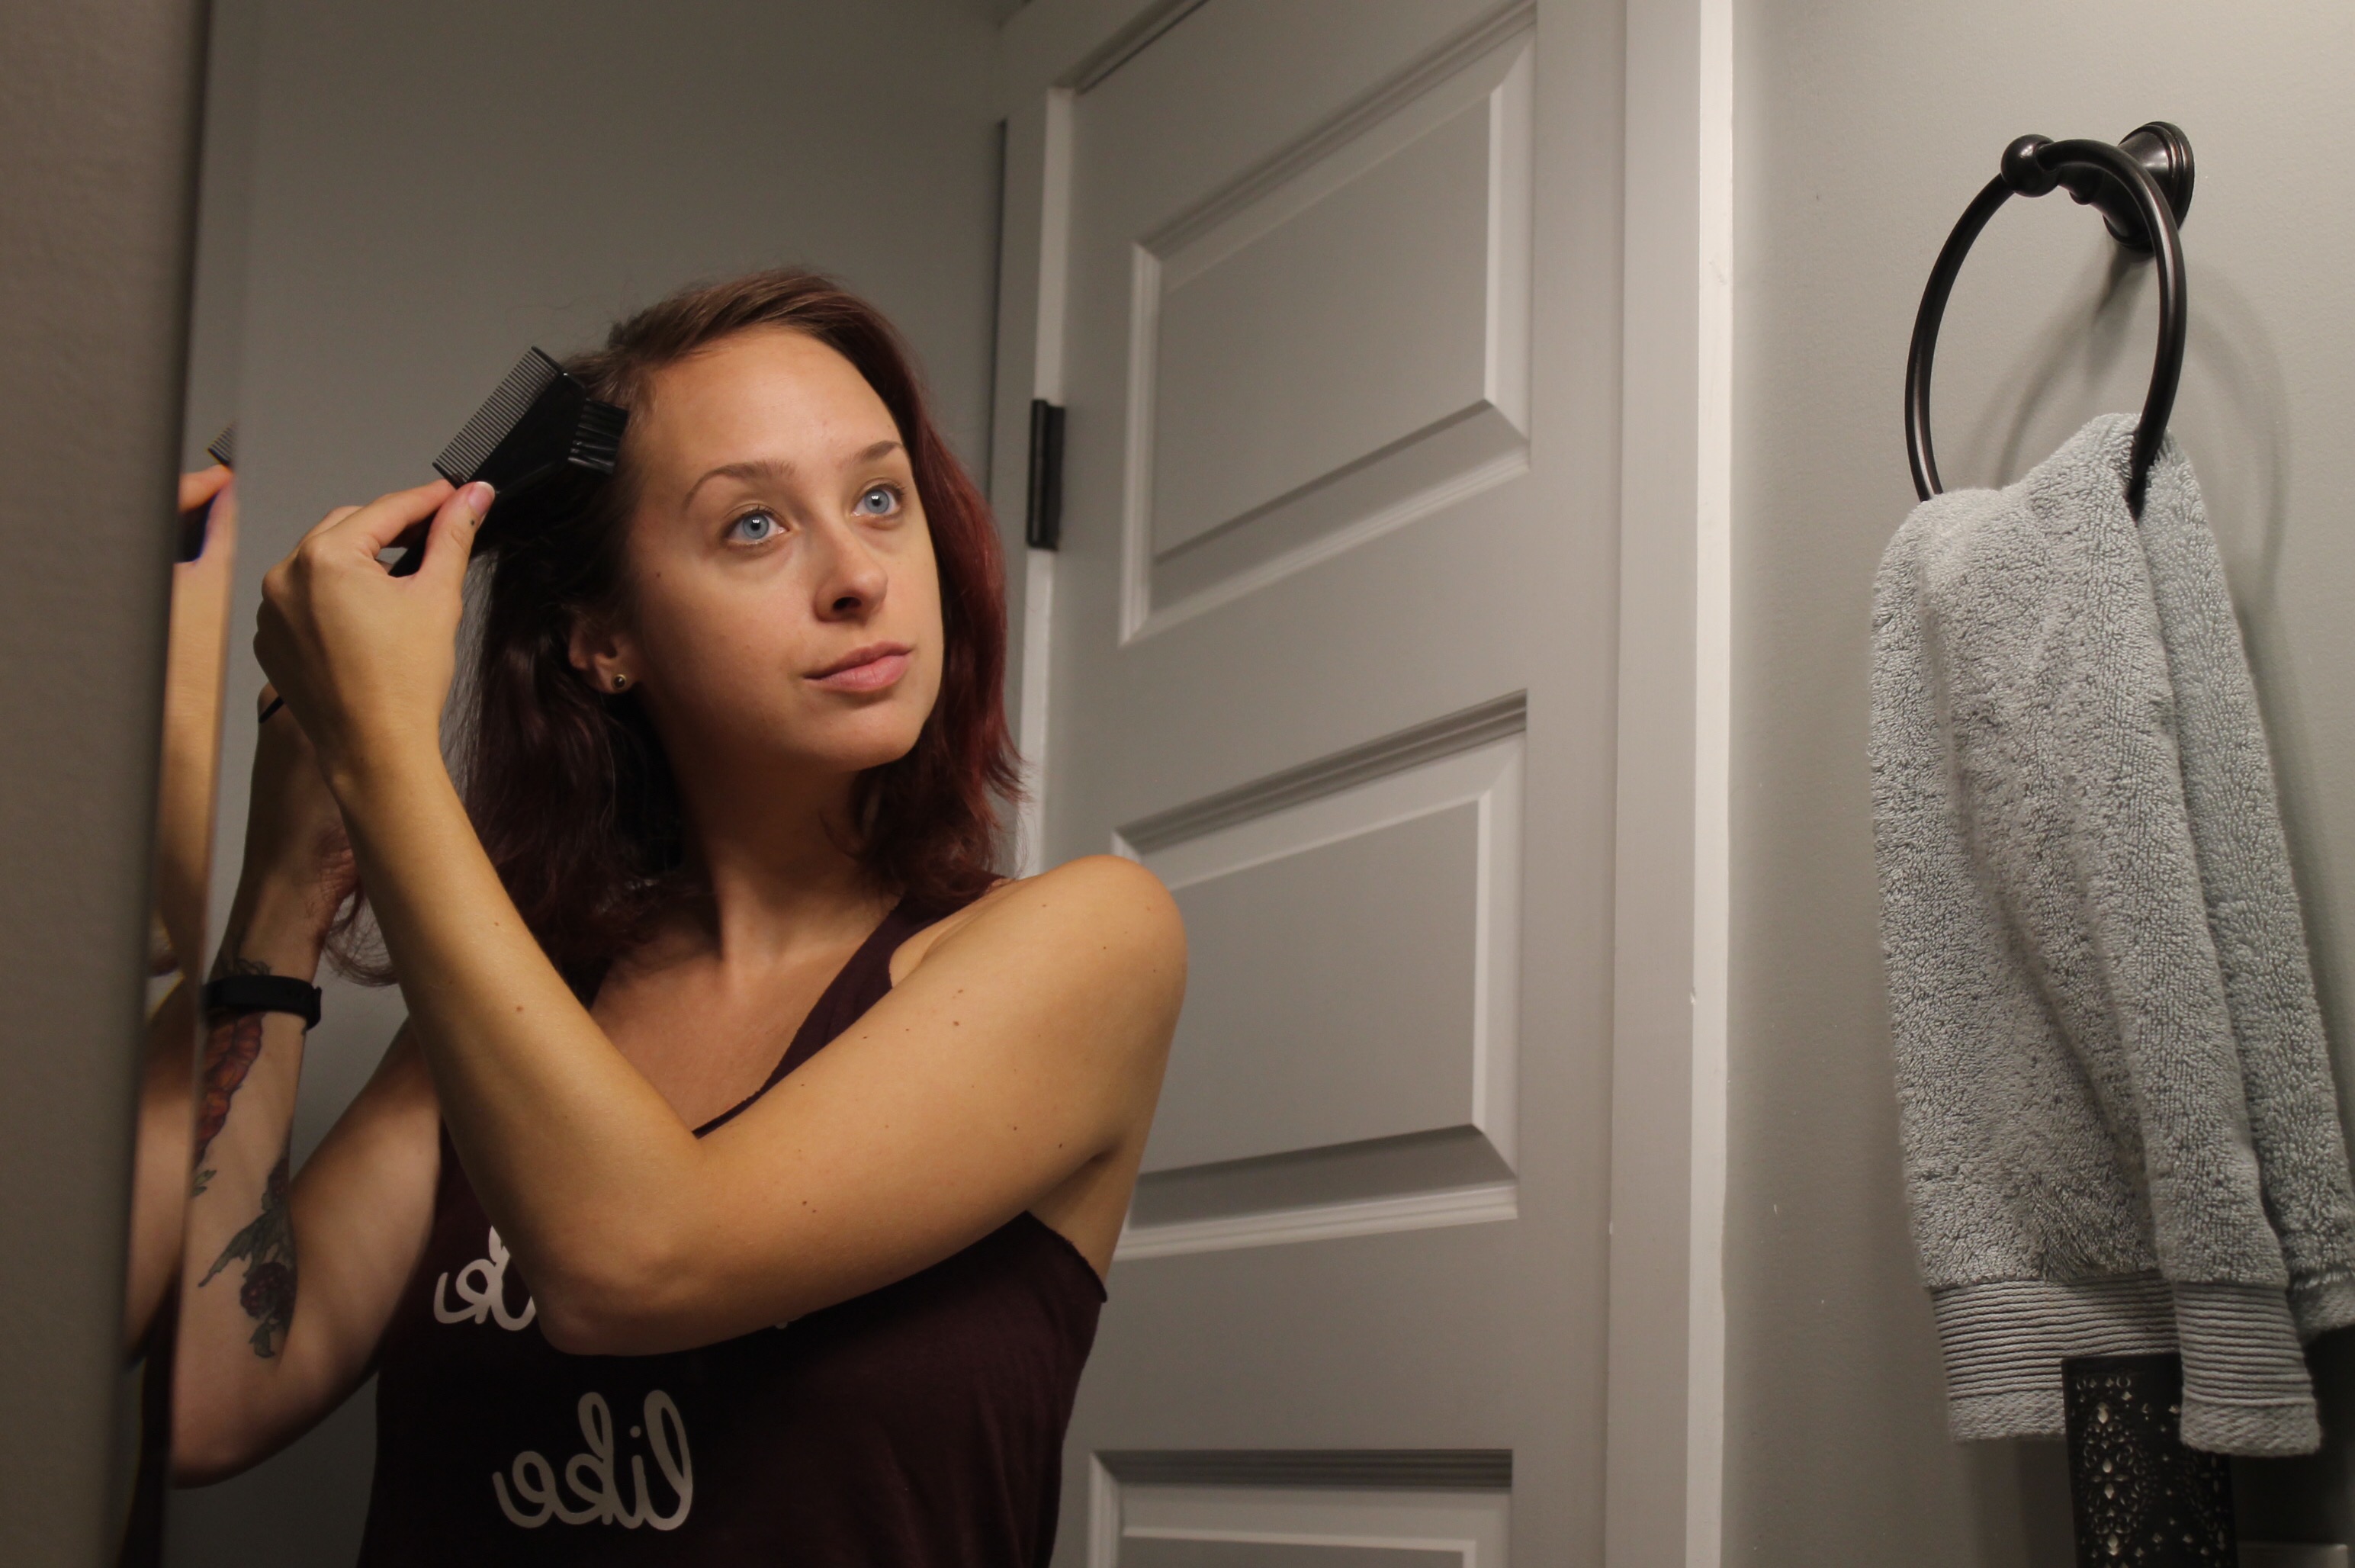
- Clip your hair up. Next, clip up most of your hair at the top of your head except the undermost layer.
- Apply the dye. On that bottom later, work the color from root to tip in small gathers. First on the upper-most side, and again on the lower side of the strands.
- Clip the first section and move on. Once you’ve completed this section, use a second clip to hold back the hair you’ve just dyed before you proceed.
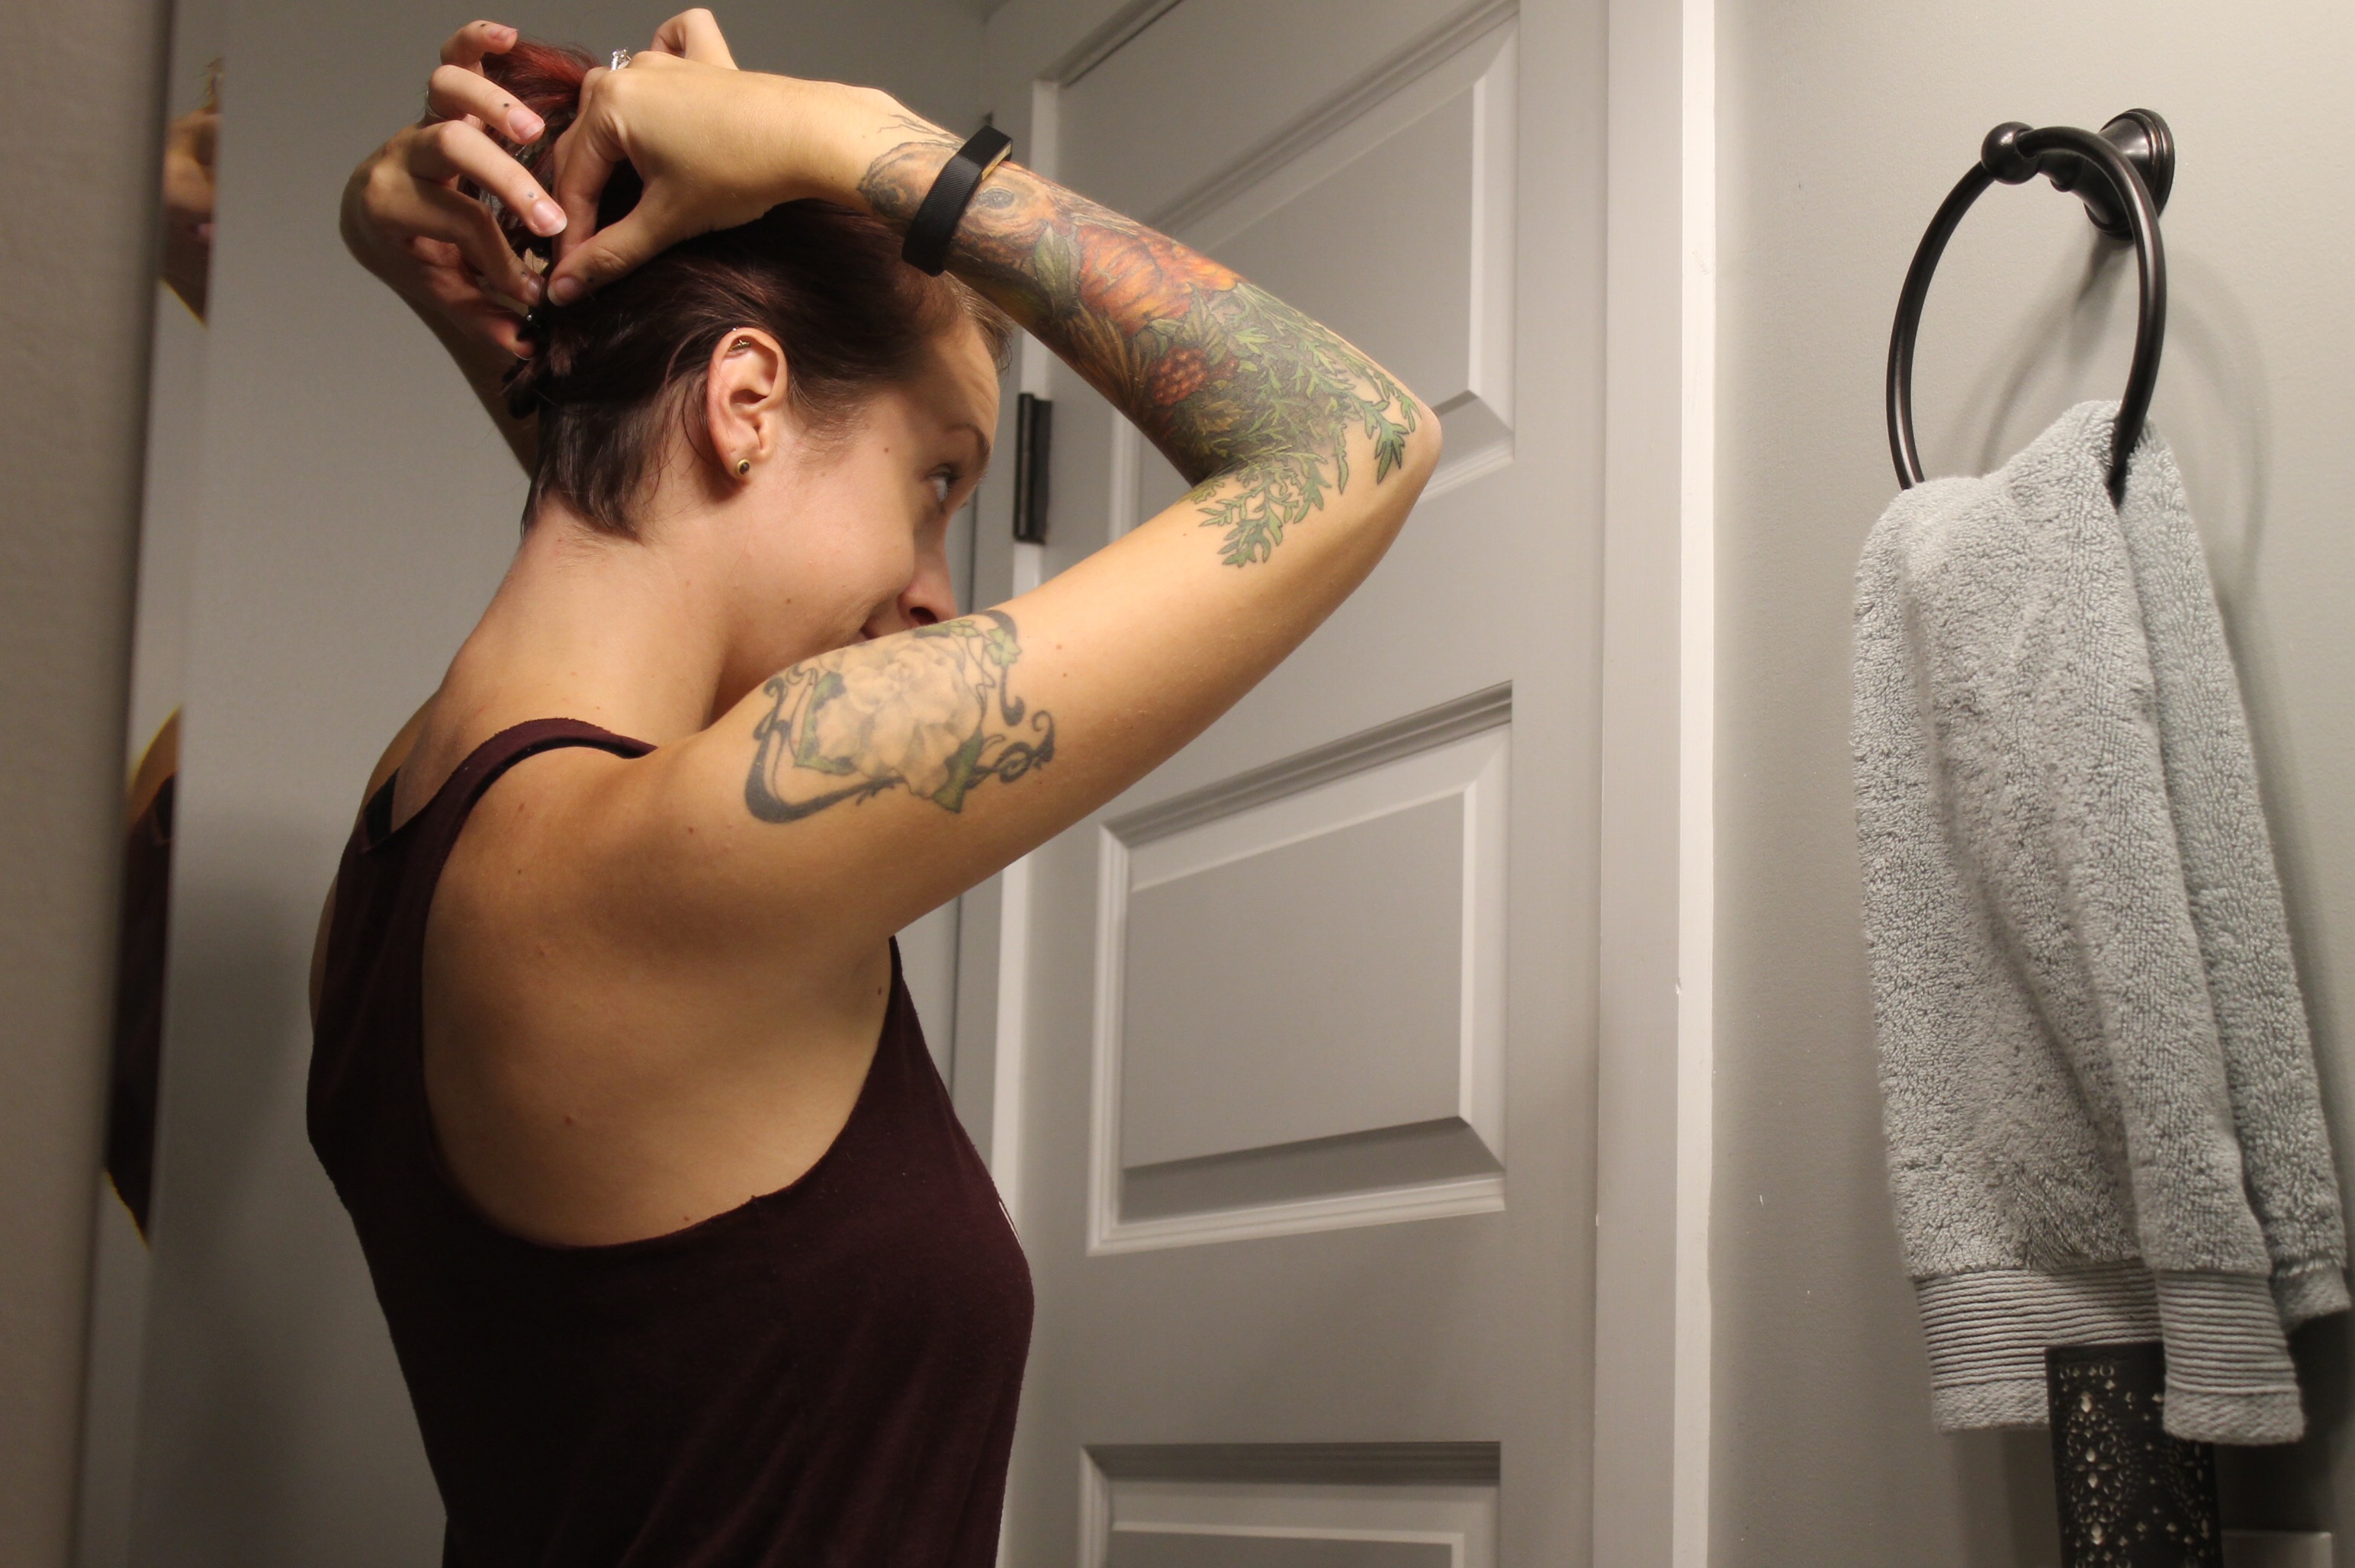
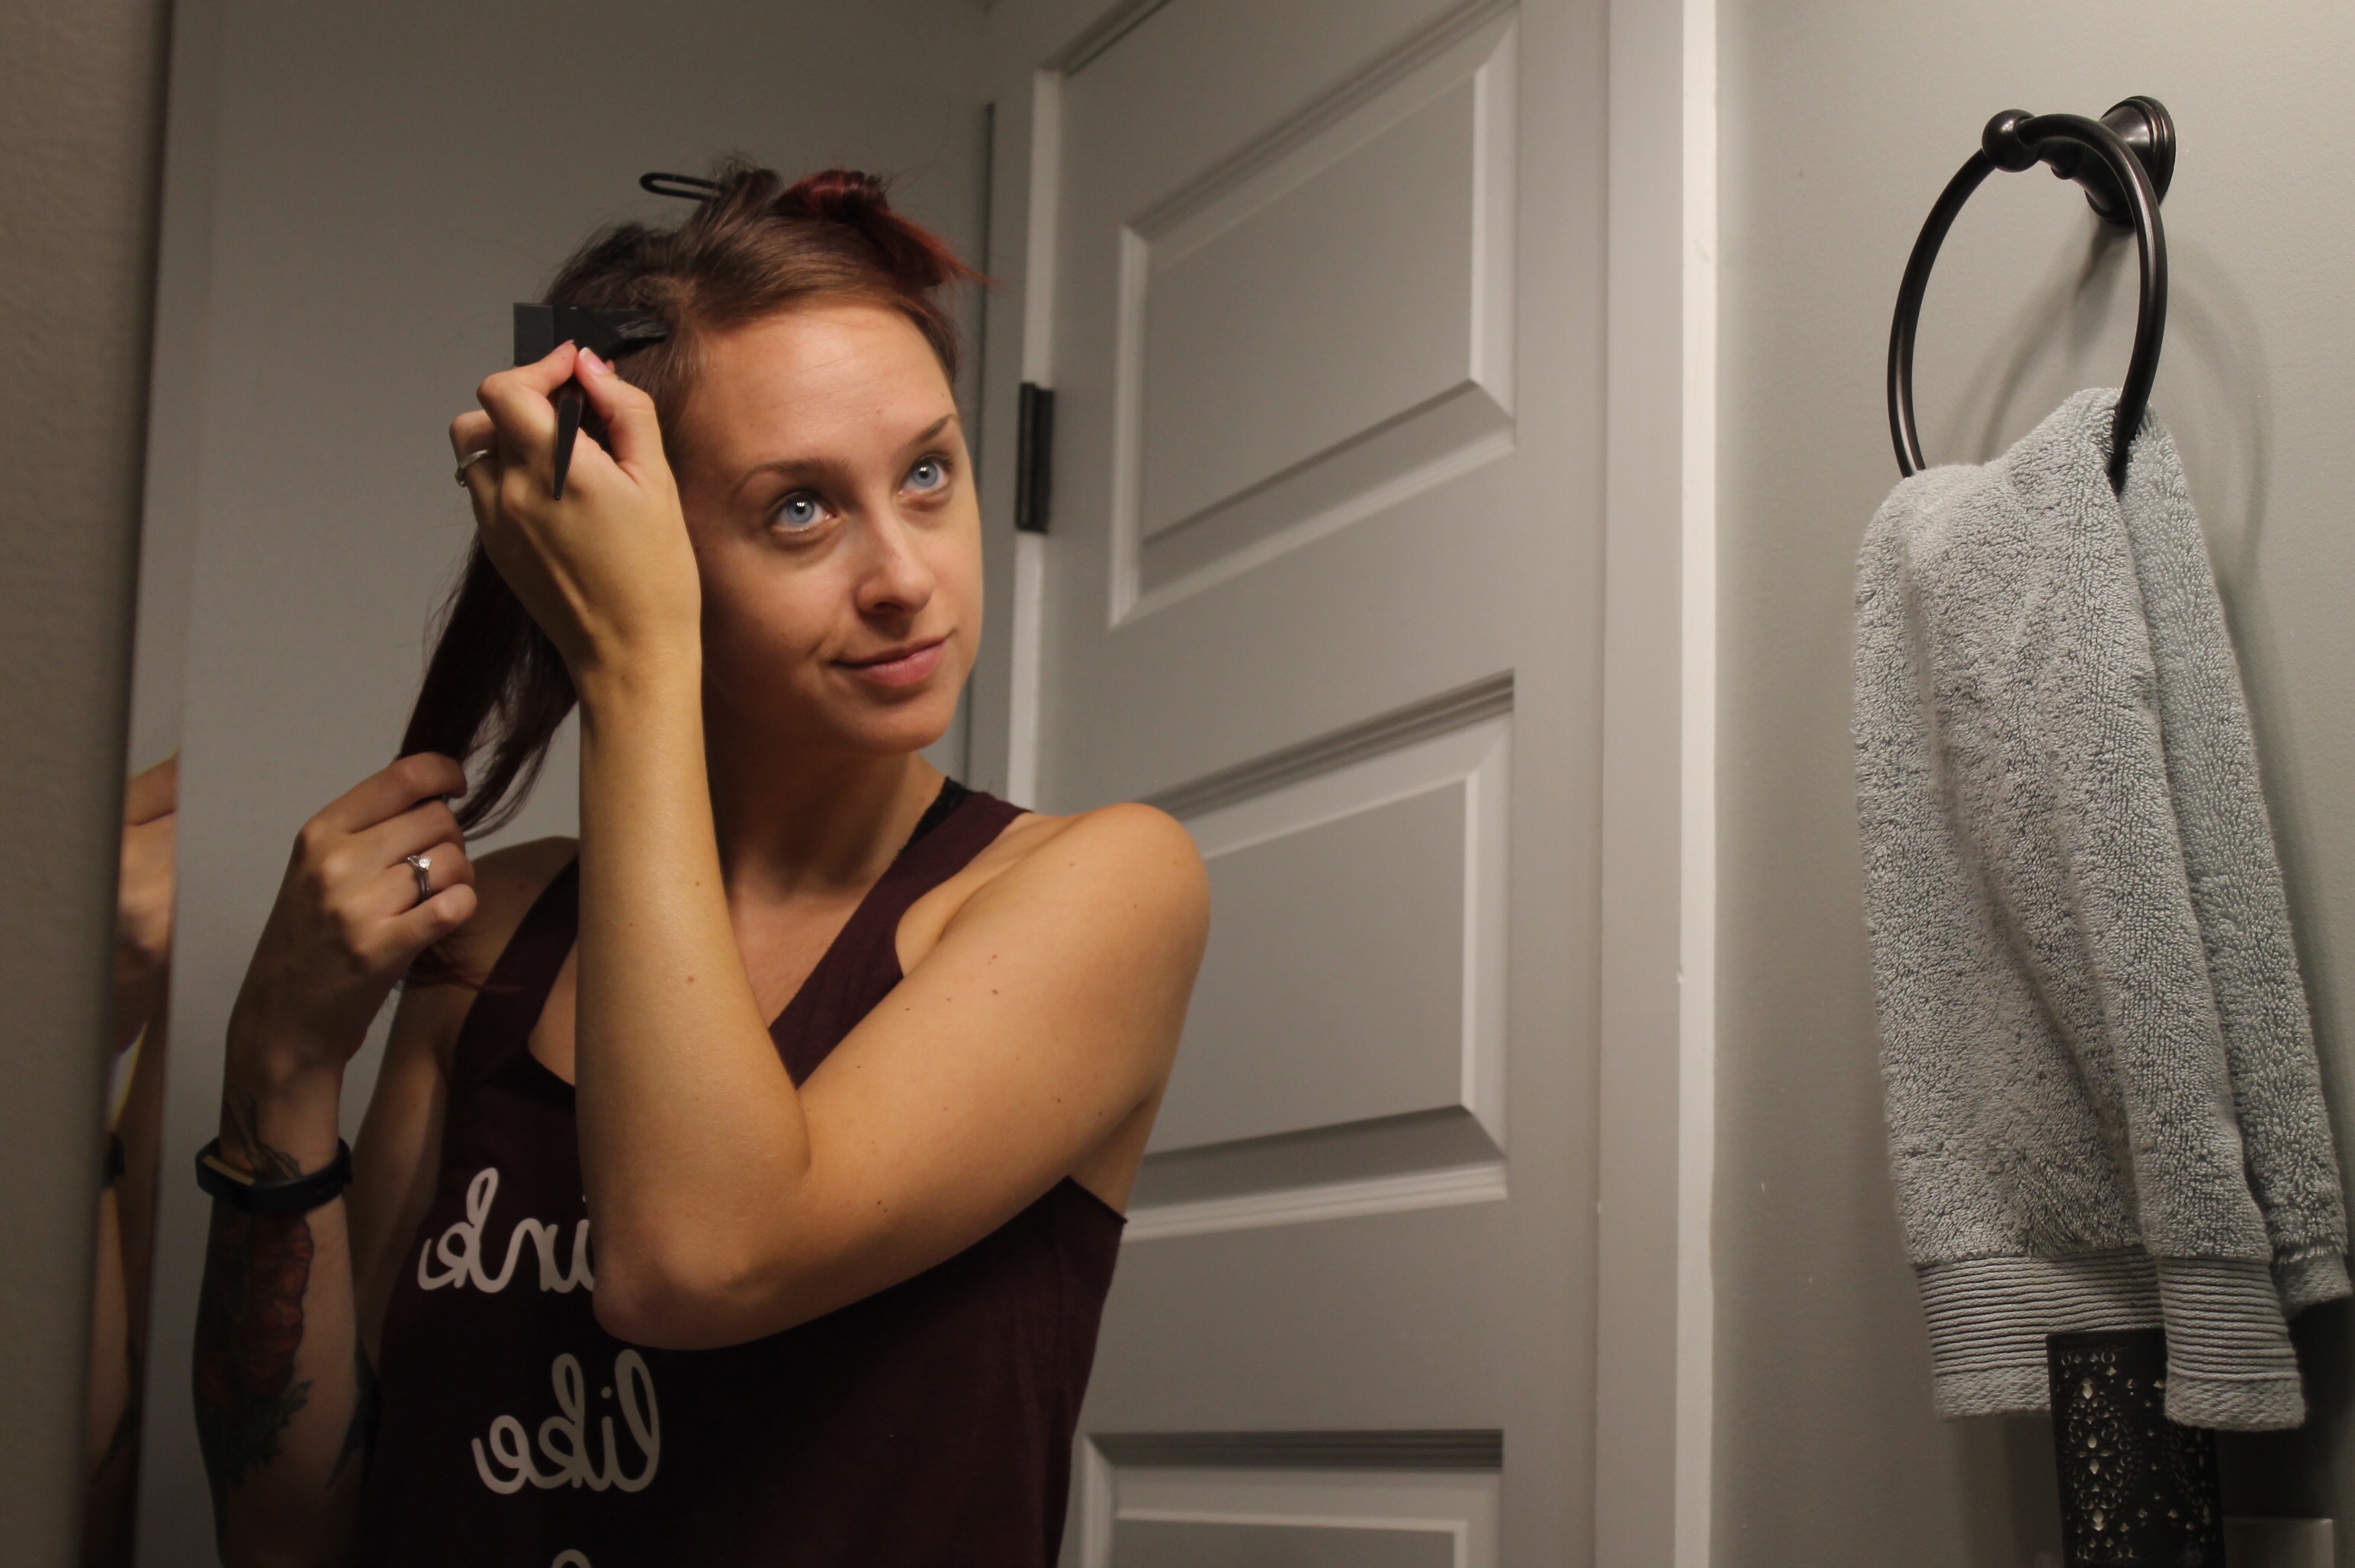
- Separate the next section. Unclip the top bunch of hair and separate a lower-middle layer. Clip the rest of the hair back up. Keeping these bunches of hair small helps ensure color distribution is even.
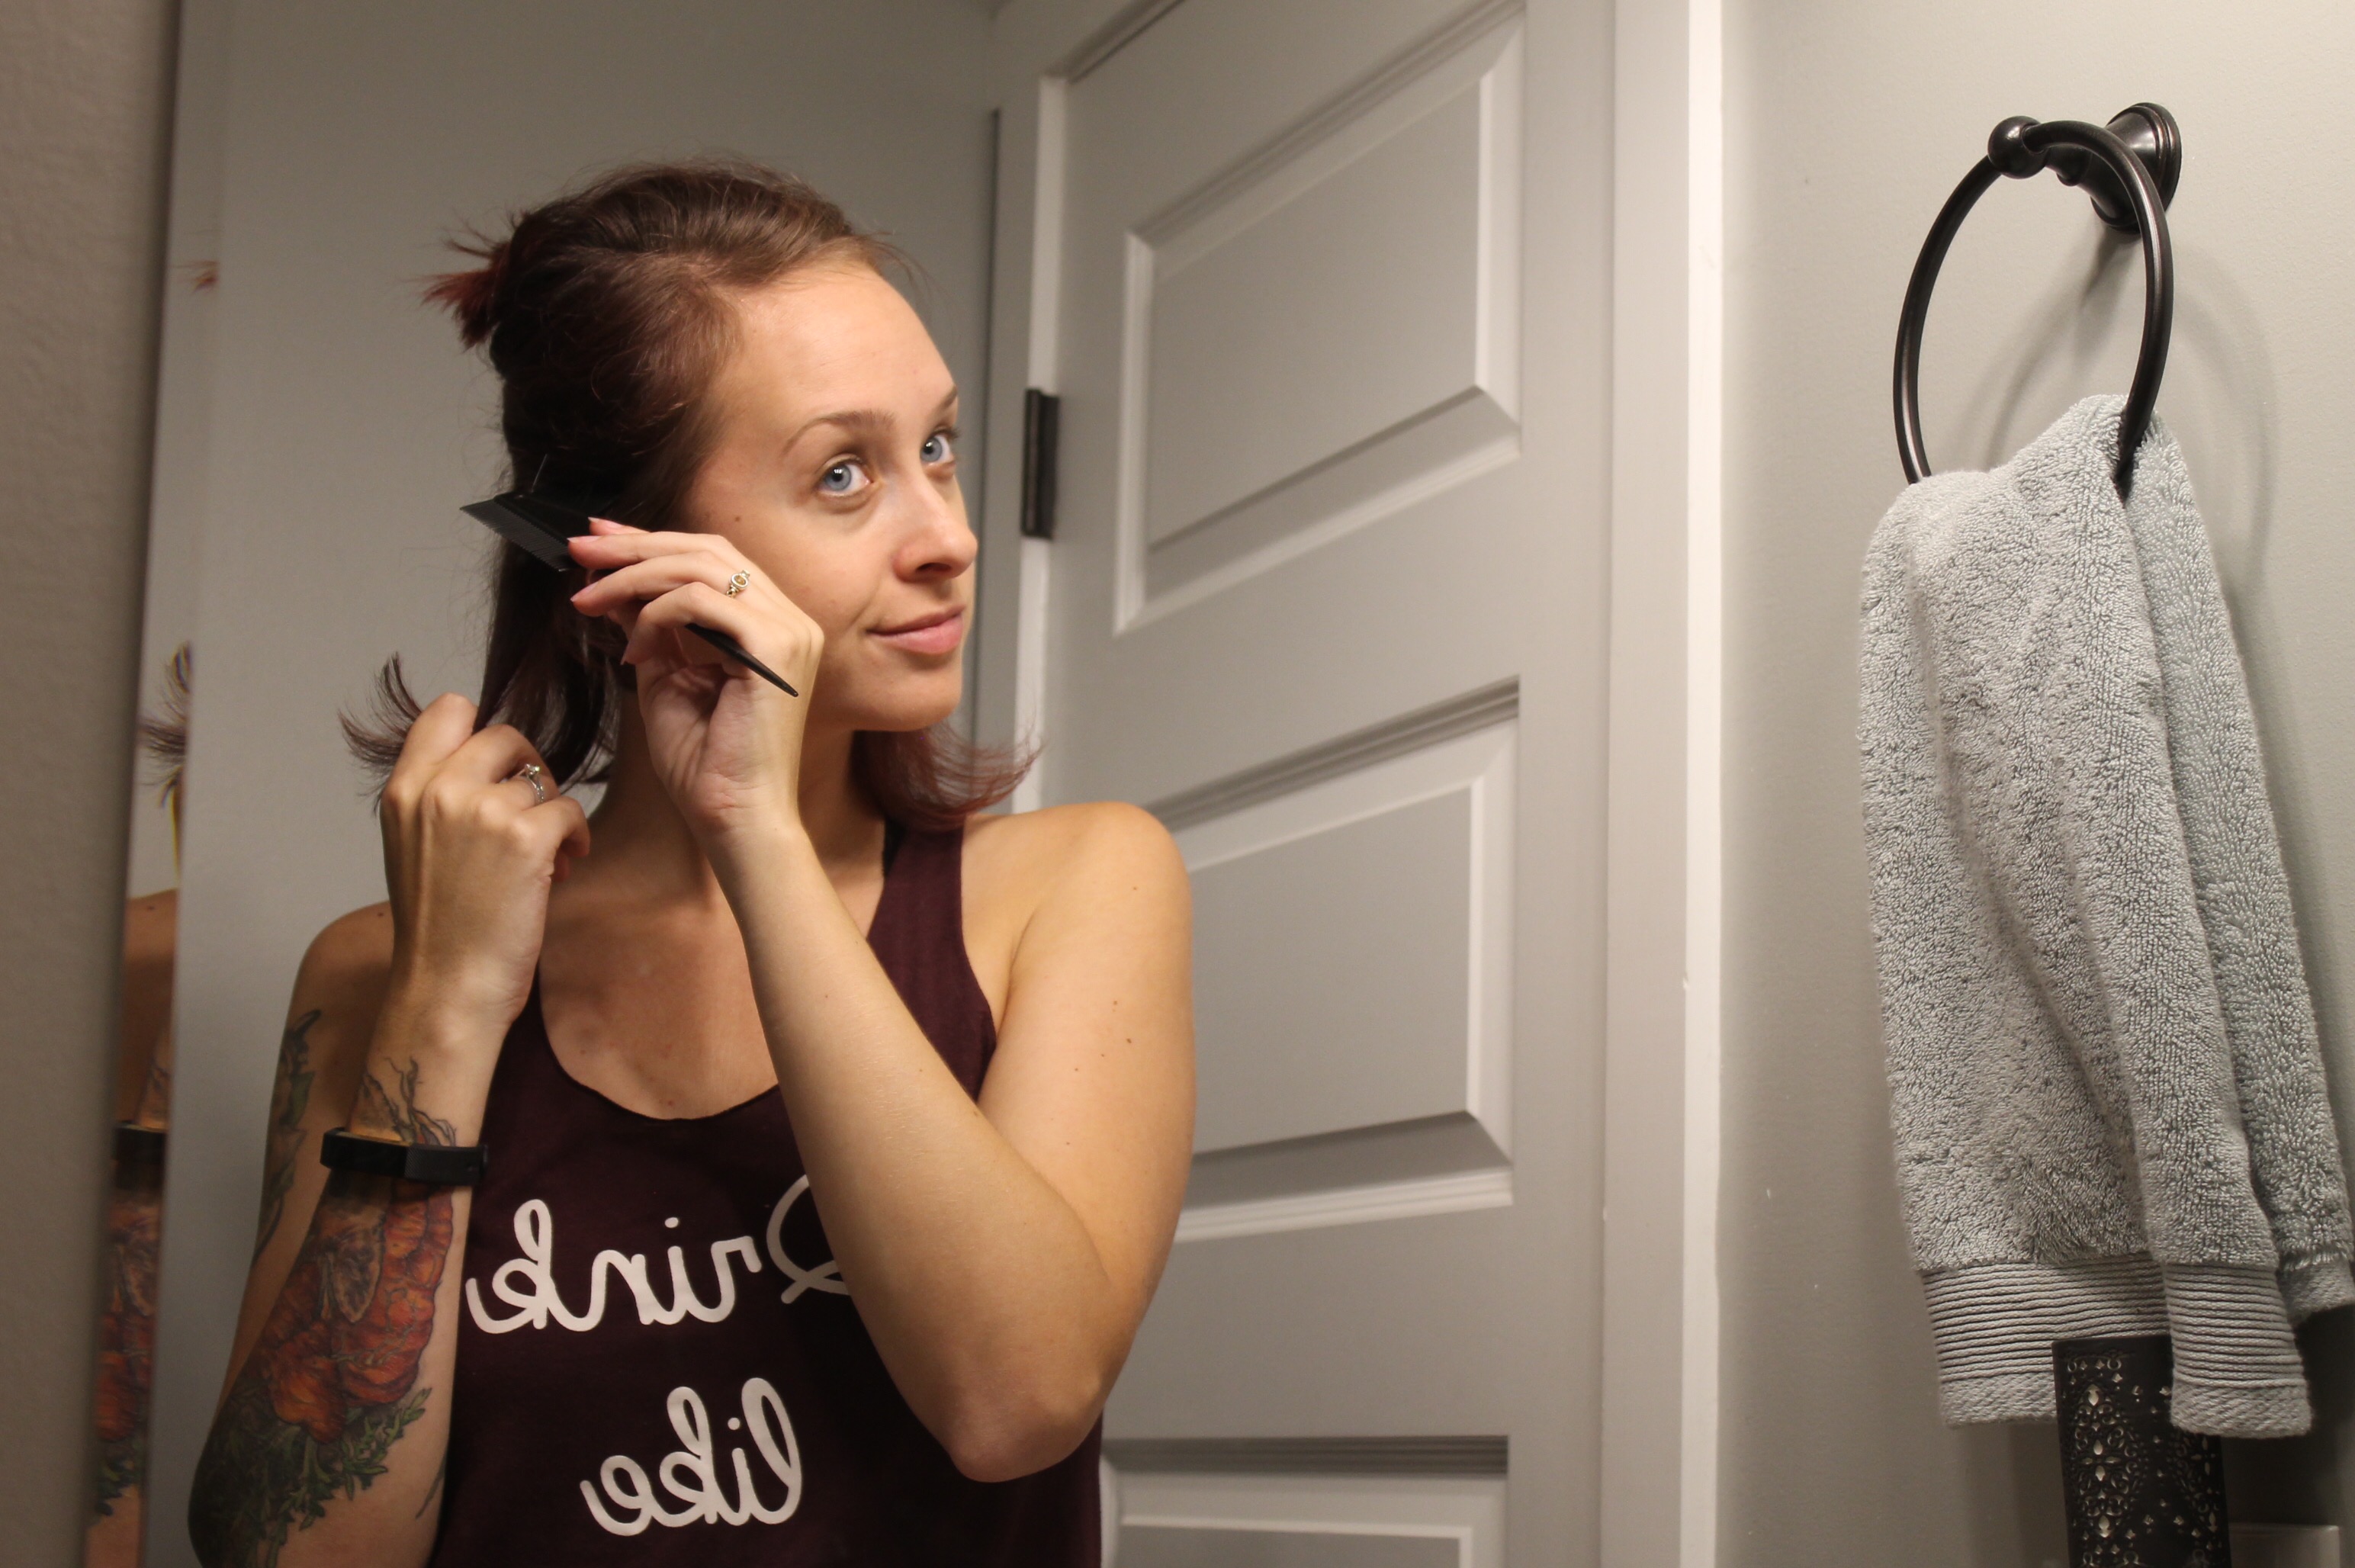
- Repeat and complete. Repeat this process until the entire head is covered in die. Depending on how much hair you have, it could be divided in as few as four sections, or more for longer and thicker hair.
 Wait. Cover your head in a shower cap and let it sit. I’ll use this time to clean up my work space, read a book, watch a movie, or enjoy a good cuppa tea! The longer you wait, the bolder the color. I’ve let it sit for hours (seriously), because there’s really no concern for damaging your hair with the vegan dyes I use.
- Brighten the color. For added color intensity, you can blow-dry your hair (with the shower cap on), since heat helps to activate the color.
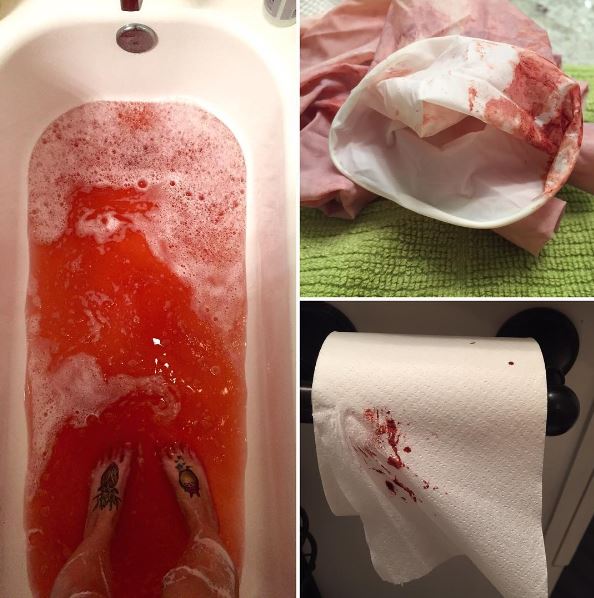
- Rinse out. To avoid splatter on my white shower tiles and shower curtain liner, I’ll lay down in the tub to rinse with the tub faucet, versus standing to rinse with the shower head. Now, how long should you rinse? The instructions will say you should rinse until the water runs clear. I’m pretty sure that you will have rinsed all color out at that point (and wasted a shameful amount of water!) My shower water still bleeds color even months after dying it. Instead, I’ll rinse until it feels like all the creamy dye itself is removed.
- Maintain. For long-term maintenance of color, avoid soaking your hair in tubs, pools, or other bodies of water. Wash your hair less often, and take showers as cold as possible—or, use a color-depositing conditioner, which actually works best in warmer showers.
- Notes: Be mindful that your new hair color might bleed. Shirt collars, scarves, hats, pillow cases, towels, etc. could begin to show color. Even with my bright red color, however, this would usually come out in the wash.
For cleanup at the end, I keep the surface cleaner handy along with a scrubber brush to wash my shower and tub after rinsing, which results in a lot of splatter. This is useful to keep close by for the first few showers after dying.
Color Lasting
When I was the most vibrant shade of red, I was dying my hair once every month to 6 weeks. The colors is obviously at its brightest the few days after dying. So I would typically dye my hair on a Friday night or Saturday morning, so it could fade a bit before work on Monday. (This also gives time for color staining to be washed from my scalp.)

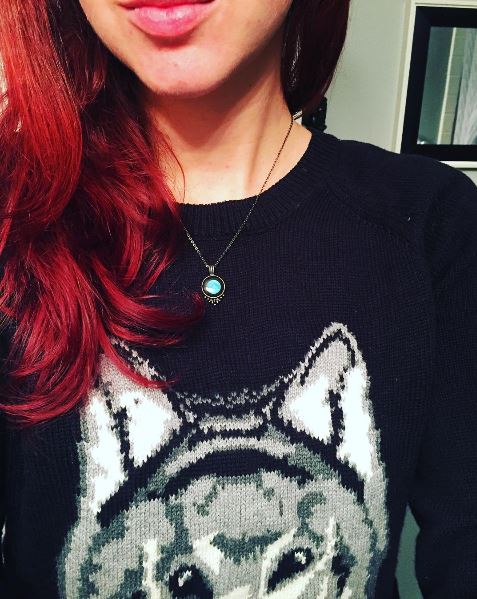
In between coloring, I use Overtone Color’s color depositing conditioner. For my colors, the red is great for daily use, and I use the pink when traveling because it doesn’t leave color on my fingers or towels the way the red does.
Lately, I’ve been aiming to create a look with my more natural hair color accentuated with bold undertones, so I’m dying much less frequently. In fact, I’ve just been using Overtone, and not dying my hair at all. It still gives me the red I want but it’s more subtle. This is the ultimate lazy approach!
Overtone has pastel, vibrant, and extreme ranges of their colors. They sell their products in both a daily formula (pictured here) and also in a deep conditioning treatment, which they recommend you use to replace your daily conditioner once a week.
While I think my time with full-on, bright mermaid hair is coming to an end, it has been one of the most enjoyable ways to express myself through my appearance. I get compliments on a regular basis, and I love the way that the red brings out the blue of my eyes.
Mermaid hair can be a fun form of personal expression. But it doesn’t have to cost a fortune or take entire afternoons at the salon. You can achieve bold and beautiful results for pennies on the dollar with these tips!
Hello! I just would like to give a huge thumbs up for the great info you have here on this post. I will be coming back to your blog for more soon.